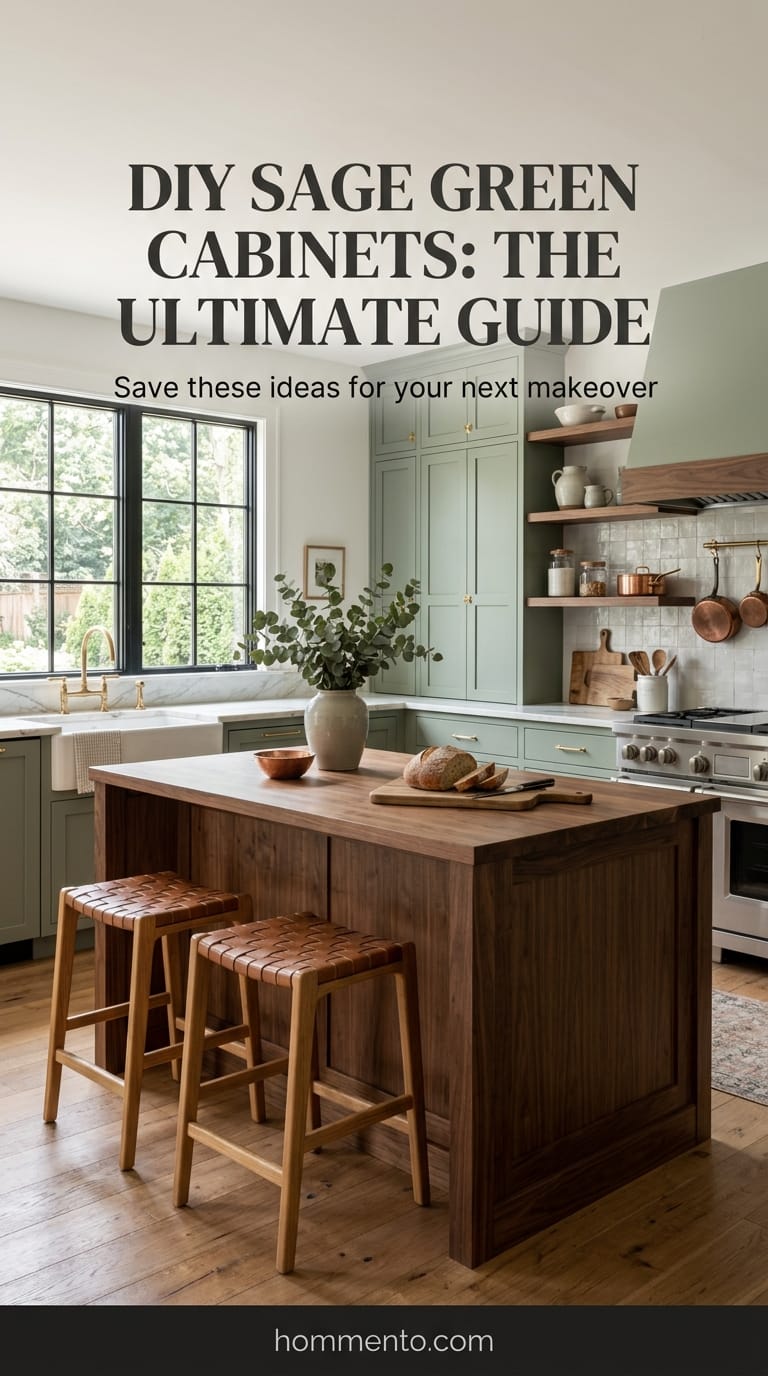
 My kitchen looked like a literal bomb went off for fourteen days straight. I had sawdust in my hair and green paint under my fingernails—even now, a month later, I’m still finding small dried spots on my ankles. But look, if you want that moody, soft green vibe without paying a contractor five thousand bucks, you’ve got to get your hands dirty.
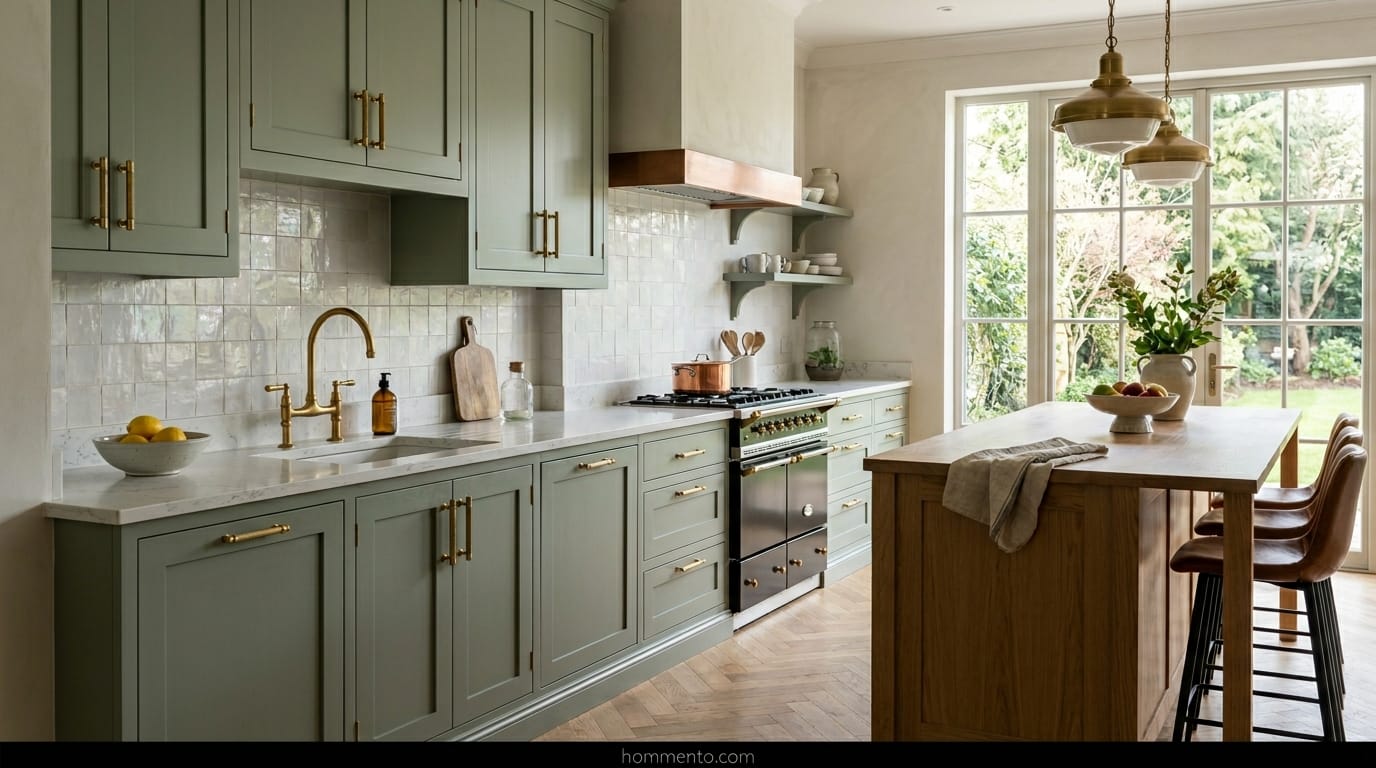
I spent three weeks living out of a microwave in the living room just so I could have those Pinterest-perfect sage green cabinets. Everyone told me I was nuts to do it myself. They were mostly right—it’s a massive project—but I saved about four grand in labor costs.
It was a total mess. But man, the result is good.
Gathering Sage Green Kitchen Cabinet Ideas That Actually Fit Your Light
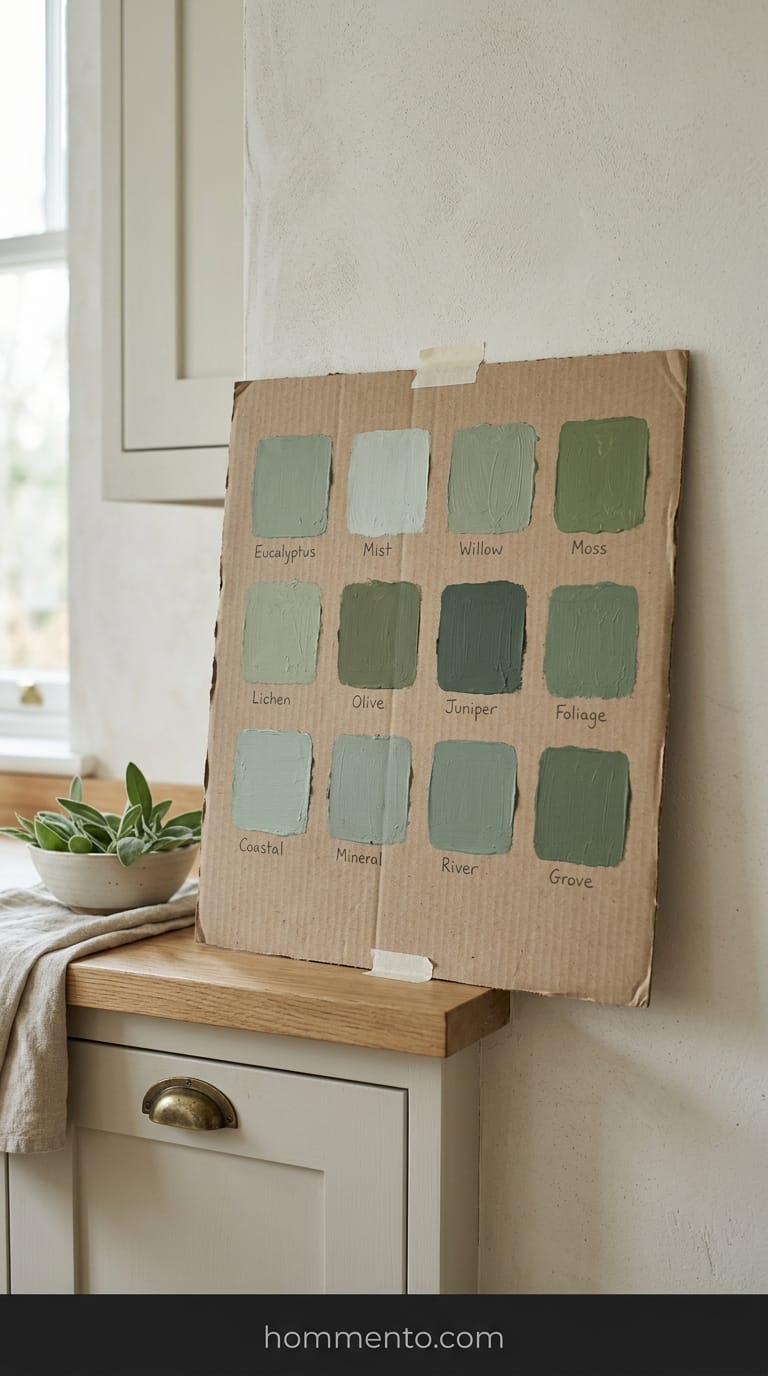
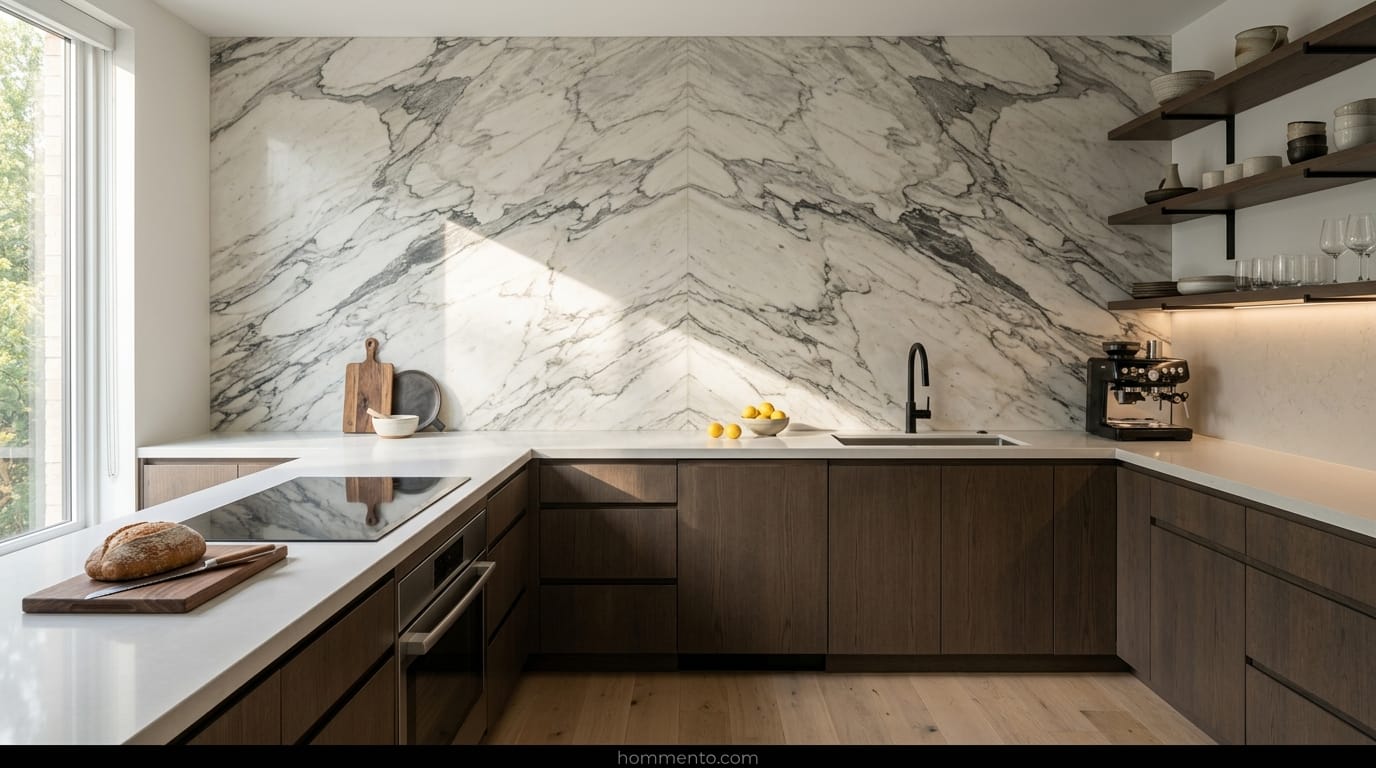
Sage green is a total shapeshifter. I bought a gallon of “Desert Sage” only to realize it looked exactly like a dirty chalkboard in my low-light kitchen. (Pro tip: paint a big piece of cardboard and move it around your room at 8 AM, noon, and sunset.) If your windows face north, stay away from greens with blue undertones or your kitchen will feel like a cold basement.
I looked at a thousand photos on Instagram before realizing most of them are heavily filtered. You want something that looks “earthy,” not “neon.” Go for shades that have a bit of gray or brown buried in them. It makes the color feel grounded instead of like you’re living inside a Granny Smith apple.
Don’t trust the tiny paper squares at the hardware store. Buy the tiny $5 sample jars. Seriously.
The Smart Way to Pull Your Doors Off and Label Them
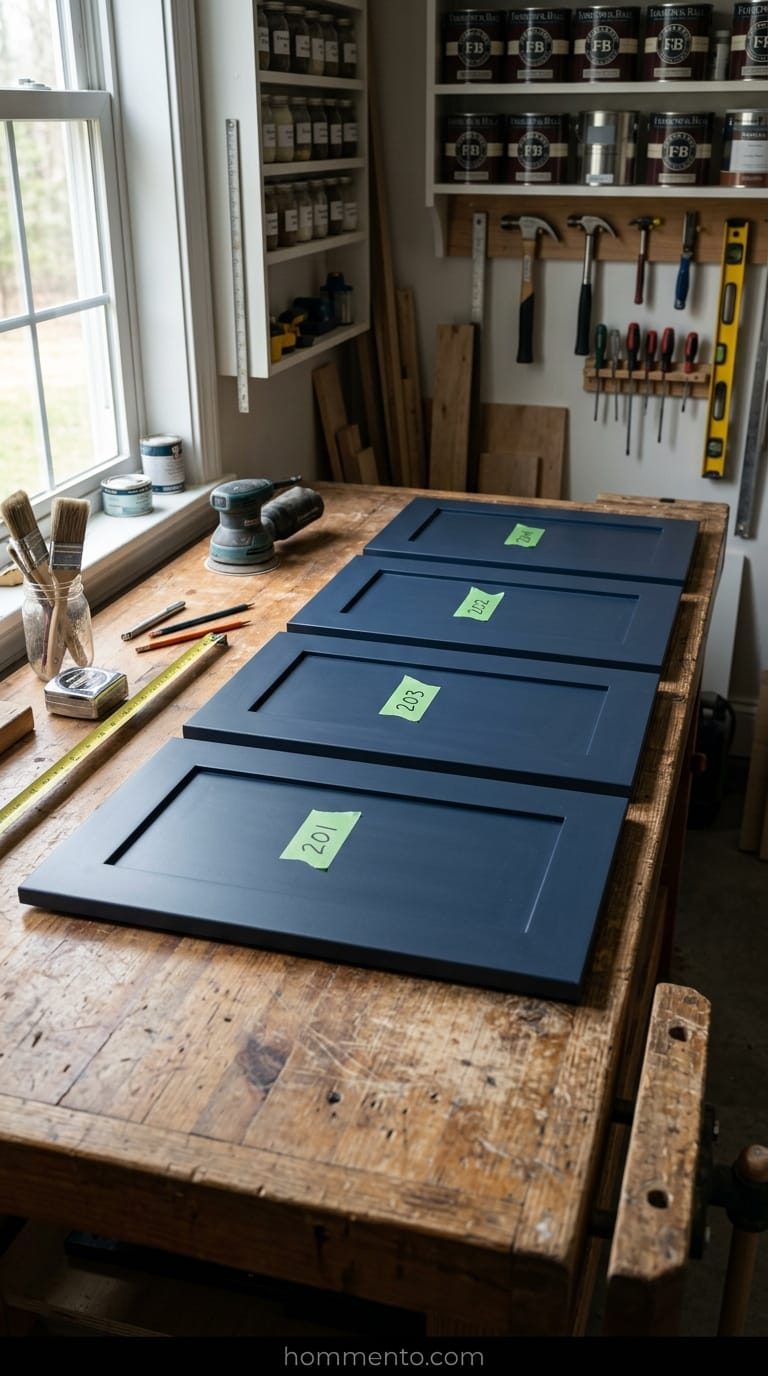
Do not—and I mean this—just pile your cabinet doors in the garage and hope for the best. I did that once in my old apartment. It was a nightmare of epic proportions trying to figure out which lopsided door belonged to the cabinet above the fridge.
Grab a roll of painter’s tape and a Sharpie. Write a number inside the hinge cup of the door and put the same number on a piece of tape inside the cabinet frame. Cover the frame label with a second piece of tape so you don’t accidentally paint over your handwriting.
It sounds like overkill until you’re staring at 20 identical slabs of wood at midnight and your brain is mush.
Getting the Gross Kitchen Grease Off the Wood
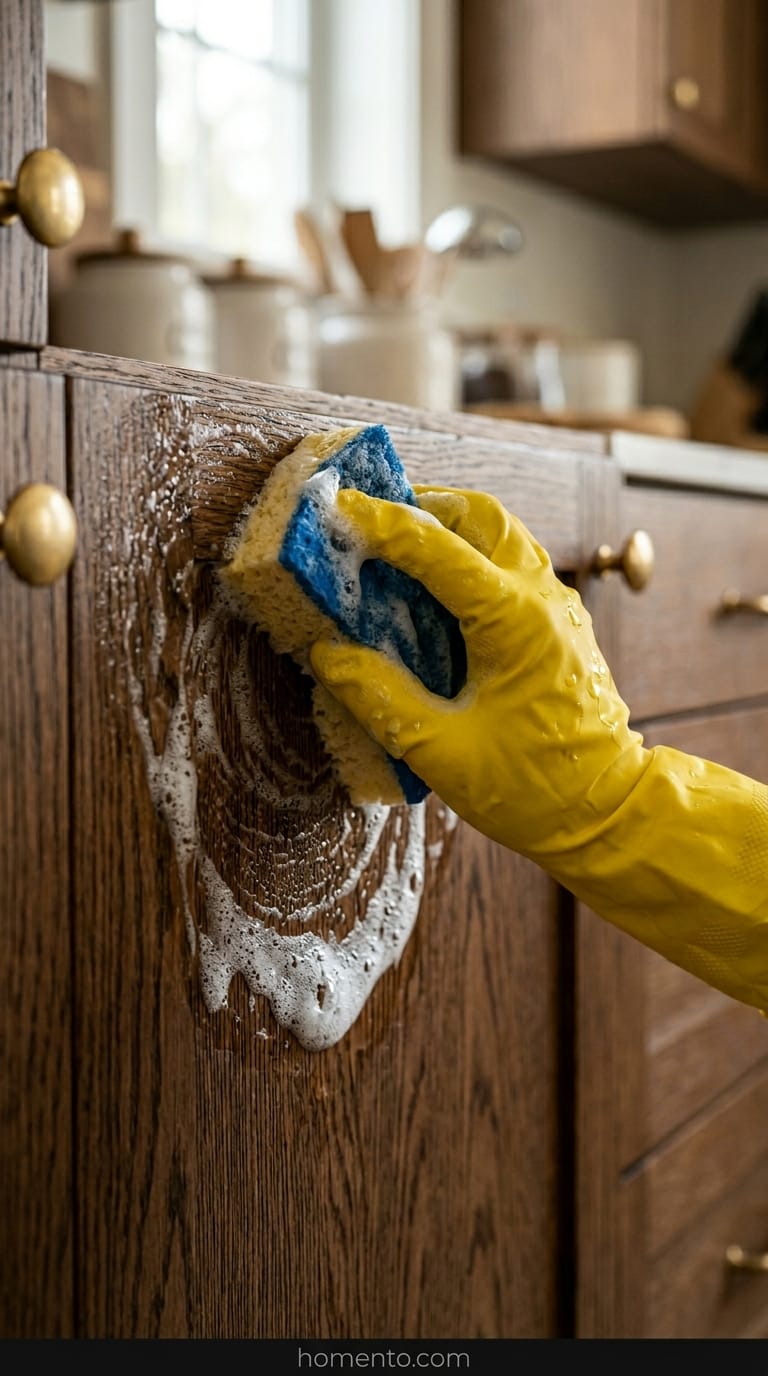
Your cabinets are filthy. Even if you’re a clean freak, years of frying bacon and boiling pasta have left a layer of invisible “kitchen film” on every surface. If you try to paint over that grease, the sage green will literally slide off or peel like a bad sunburn within a week.
Use TSP (Trisodium Phosphate) or a heavy-duty degreaser. I wore those thick yellow dishwashing gloves and went to town with a scrubby sponge. The water turned a weird shade of brown that still haunts my dreams.
If the wood still feels “slick,” scrub it again. Paint hates grease.
Sanding Is a Pain But You Can’t Skip It
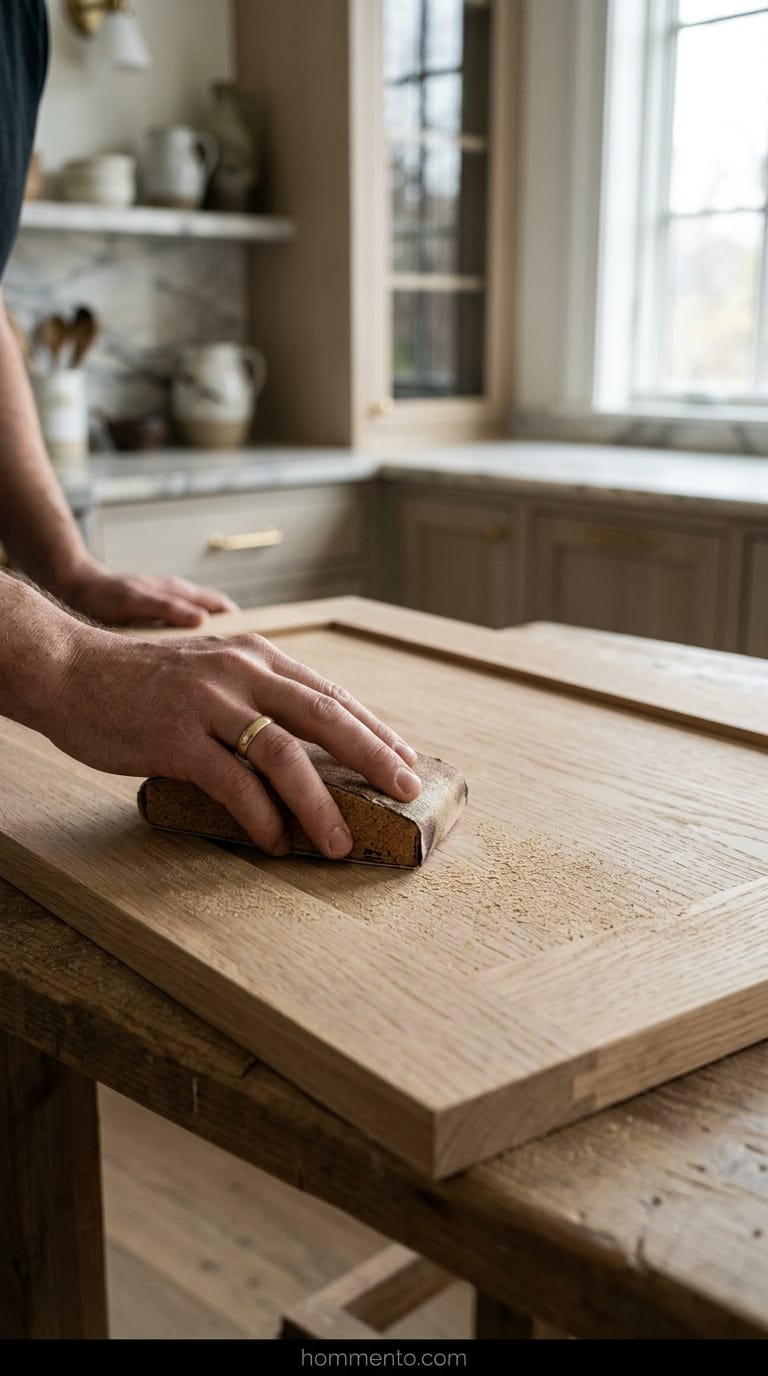
I hate sanding more than I hate doing taxes. It’s dusty, it makes your arms ache, and it feels like you aren’t making any progress. But here’s the cold truth: if you don’t scuff up that factory finish, your new paint has nothing to grab onto.
You don’t need to go crazy and reveal the raw wood. Just get a 120-grit sanding block and give every surface a good “tooth.” If the surface feels smooth like a river stone, you aren’t done yet.
Seriously. Don’t skip this part. My neighbor skipped sanding and her cabinets started chipping before the month was out—total waste of time.
Taping Off Everything So You Don’t Ruin Your Floors
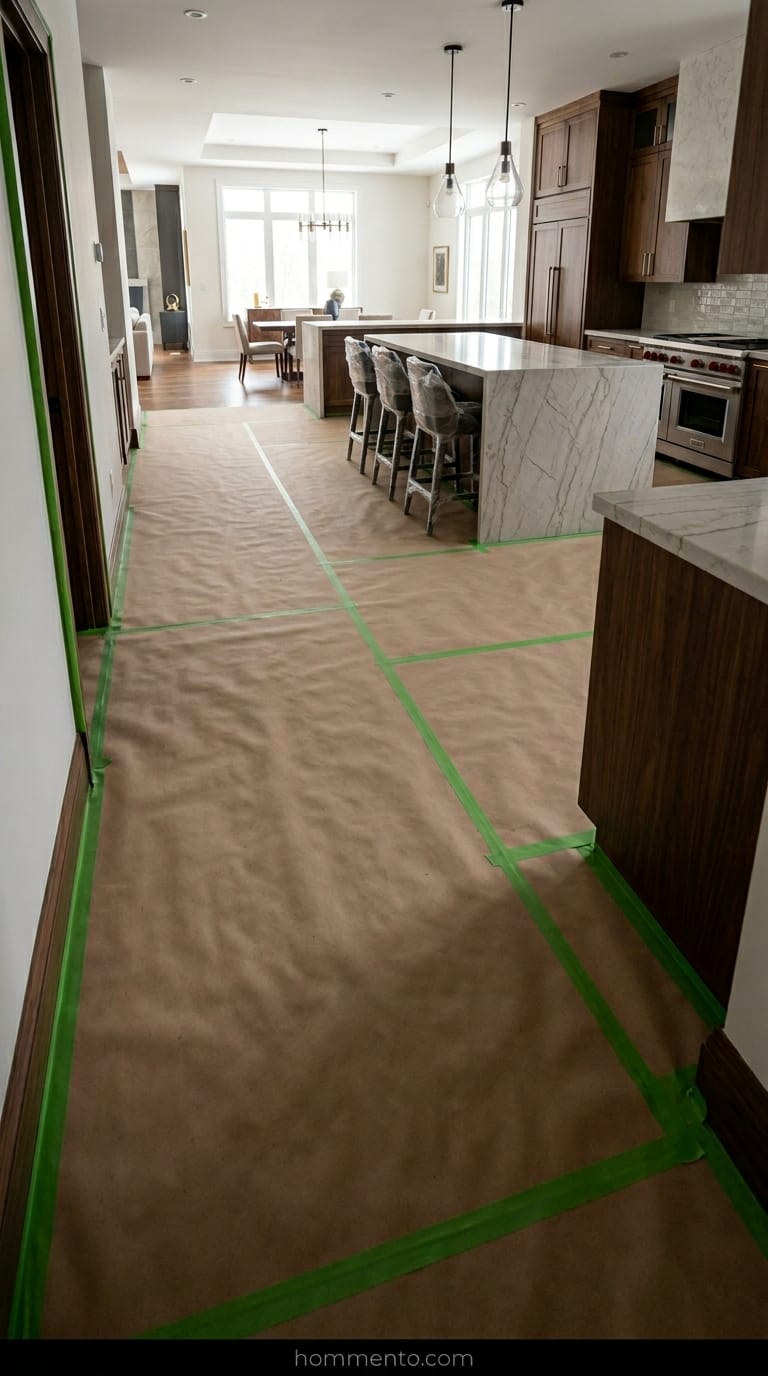
Taping is the absolute worst part of this whole job. Truly. I spent four hours on my knees with FrogTape and still missed a tiny spot near the fridge. Don’t buy that cheap tan masking tape from the dollar bin. It’s garbage. It lets paint seep through and then leaves a sticky residue that takes a lifetime to scrub off later.
I use thick brown builder’s paper for the floors instead of those flimsy plastic drop cloths. Plastic slides around and makes you trip. I almost face-planted into a wet cabinet door because of a loose plastic sheet—never again. Tape the paper down like you’re sealing a tomb.
If you think you’ve used enough tape, you haven’t. Put down an extra layer around the baseboards.
Priming With Stuff That Actually Grabs the Surface
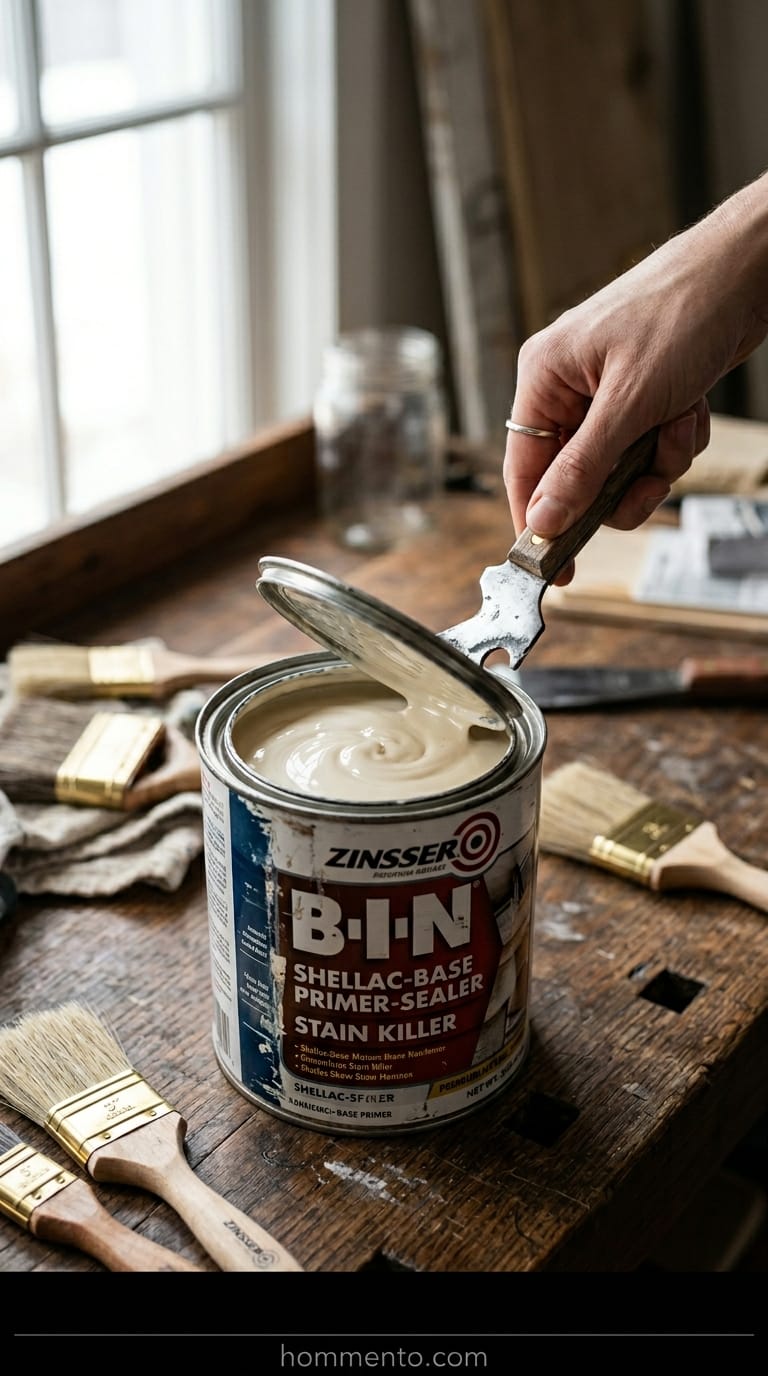
If you use some generic “all-in-one” paint and primer, your sage green dream will peel off in six months. I’ve seen it happen to a friend who tried to save twenty bucks. You need something that grips like crazy.
Zinsser BIN is my go-to, even though it smells like a chemical factory. It’s shellac-based. That means it sticks to literally anything—even those weirdly shiny 90s laminate cabinets that feel like plastic.
Wear a mask. Seriously.
Buy a cheap brush for the primer because you’re probably going to throw it away when you’re done. Trying to clean shellac out of a nice brush is a special kind of hell I wouldn’t wish on my worst enemy.
Putting Down the First Coat (And Not Panicking)
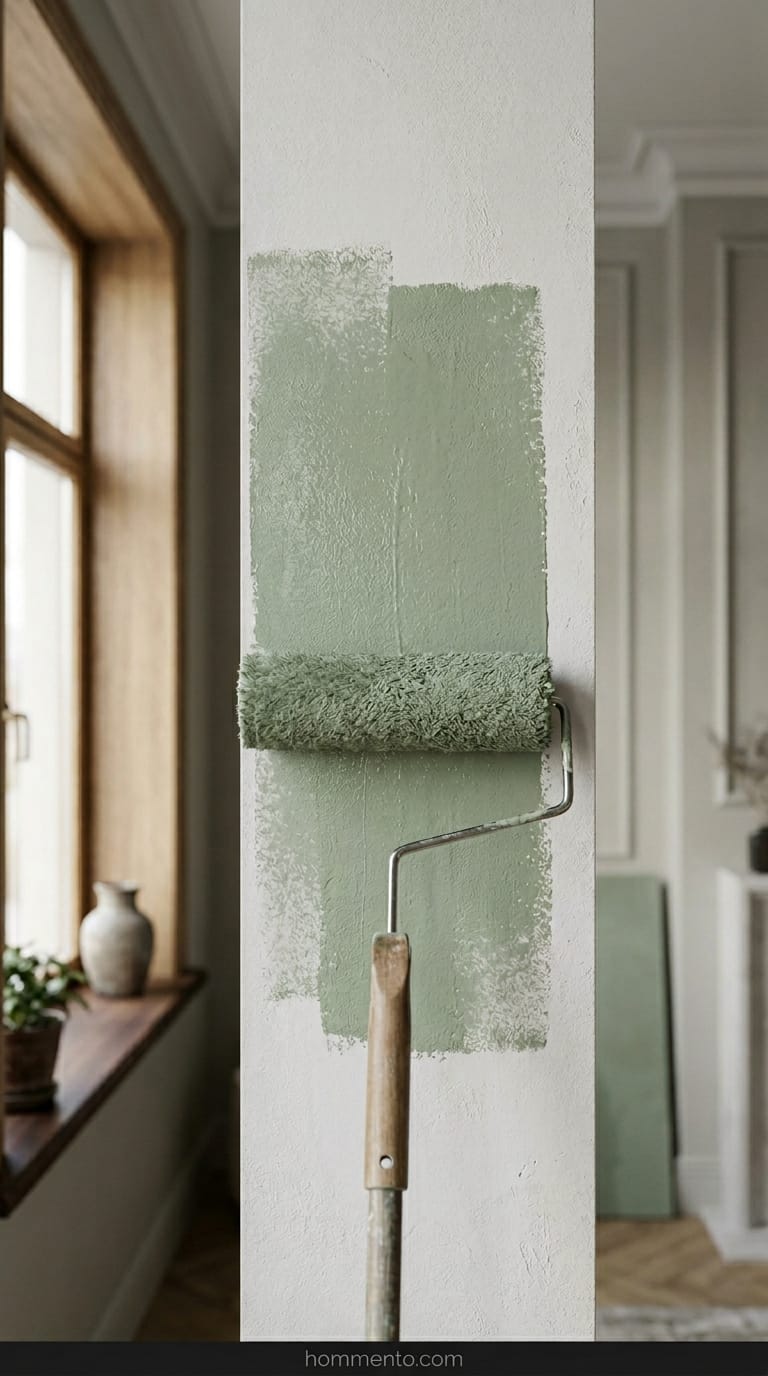
The first coat is going to look like a total disaster. I’m not kidding. You’ll see streaks and patches where the white primer shows through and you’ll think you ruined your kitchen forever. You didn’t. Just stop touching it.
The biggest mistake I ever made was trying to fix a tiny drip while the paint was already getting tacky. It created this weird, gloopy texture that I had to sand down later.
Let it be ugly. It’s supposed to look a bit thin and patchy right now. Trust the process and keep your coats thin so you don’t get those annoying “runs” in the corners.
Why You Need to Sand the Paint Between Coats
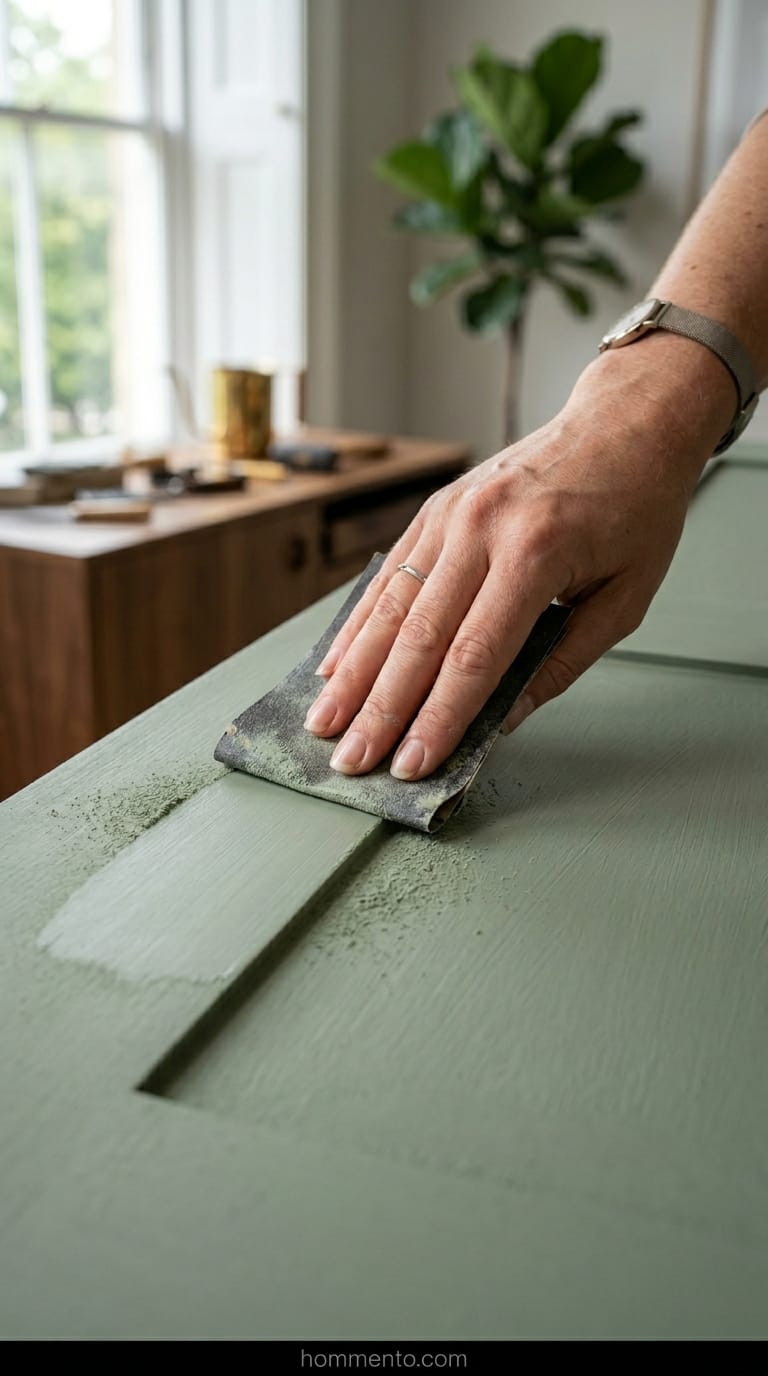
You’ll feel little bumps in the paint once it dries. Those are tiny bits of dust or pet hair (my house is basically 40% dog hair). If you don’t sand them off now, they get trapped under the next layer forever.
Grab some 220-grit sandpaper and just lightly—seriously, LIGHTLY—scuff the surface. You aren’t trying to remove the sage green paint. You’re just making it feel as smooth as a piece of glass.
Vacuum up the dust afterward. If you leave the dust there, the next coat won’t stick. Use a tack cloth to get every last speck.
Nailing the Final Layer for That Pro Look
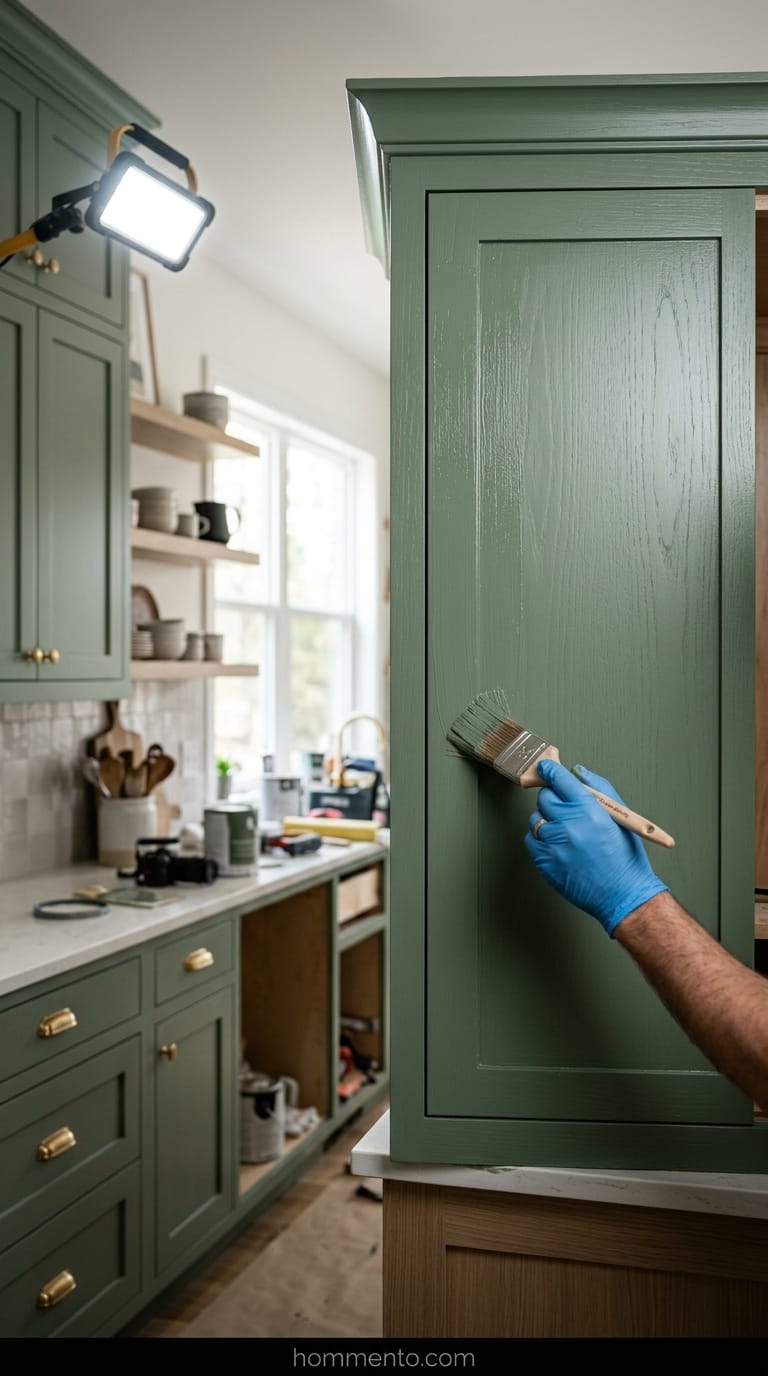
This is the big one. This is where that sage green finally starts looking like those Pinterest photos you’ve been obsessing over for months. Use a fresh microfiber roller cover. Do not reuse the one from yesterday.
Work in the same direction for every single stroke. I like to keep a bright work light at an angle so I can see any missed spots or weird shadows.
Once the paint is on, walk away. Close the kitchen door. Keep the kids and the pets out. Let it sit for at least 24 hours before you even think about touching it. It’s worth the wait, I promise.
Reinstalling Your Doors Without Scratching the Finish
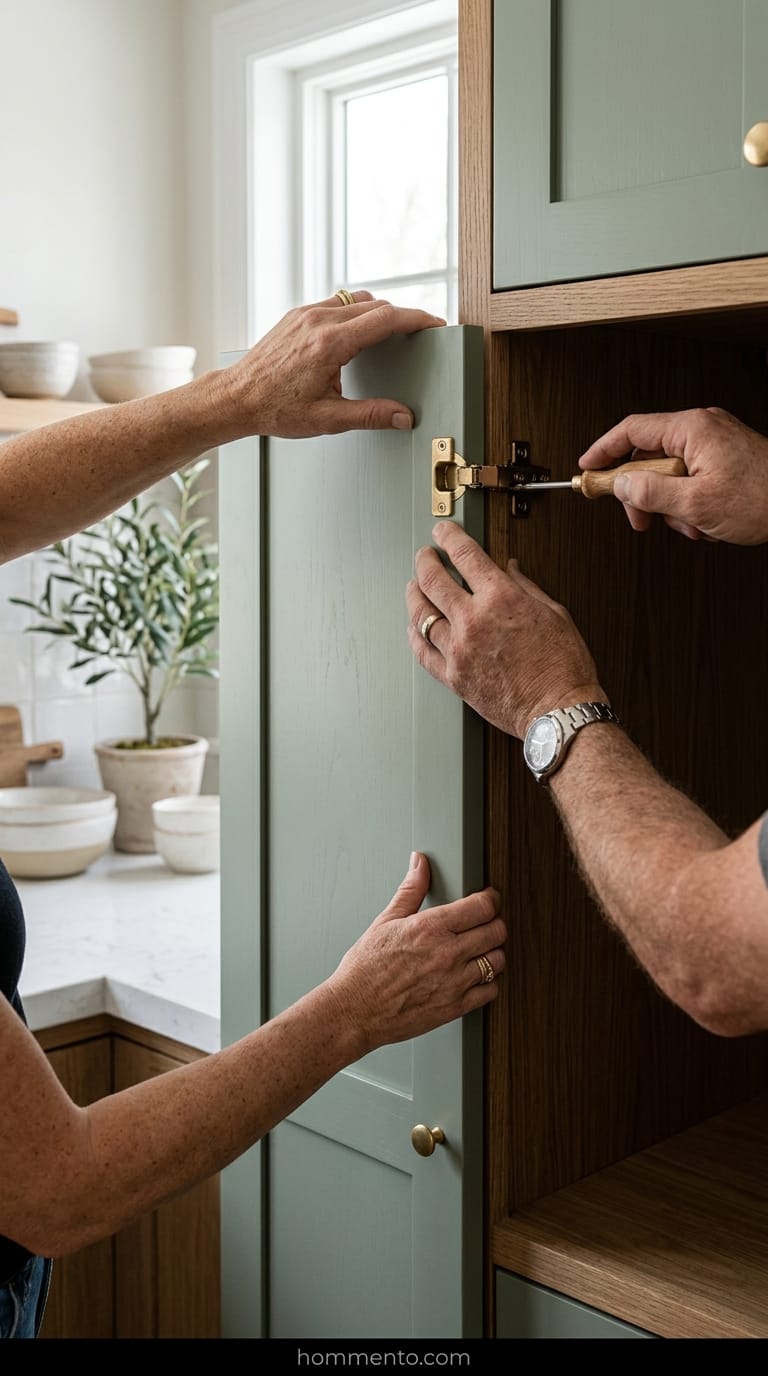
Get a buddy. Seriously. I tried hanging a corner cabinet door alone once and ended up with a massive scratch that looked like a cat tried to climb the thing. Total disaster. You need one person to hold the door steady while the other person drives the screws into the hinges.
Lay an old beach towel or a moving blanket across your counters and floor before you start. If that door slips—and it definitely might—you want it hitting something soft, not your hard tile or granite. My neighbor dropped a door and chipped her floor; don’t be like her.
Don’t over-tighten the screws right away. Just get them in enough to hold the weight, then step back to see if the doors look straight. You’ll probably have to fiddle with the hinge adjustments for an hour to get those gaps looking perfect.
Common Mistakes to Avoid
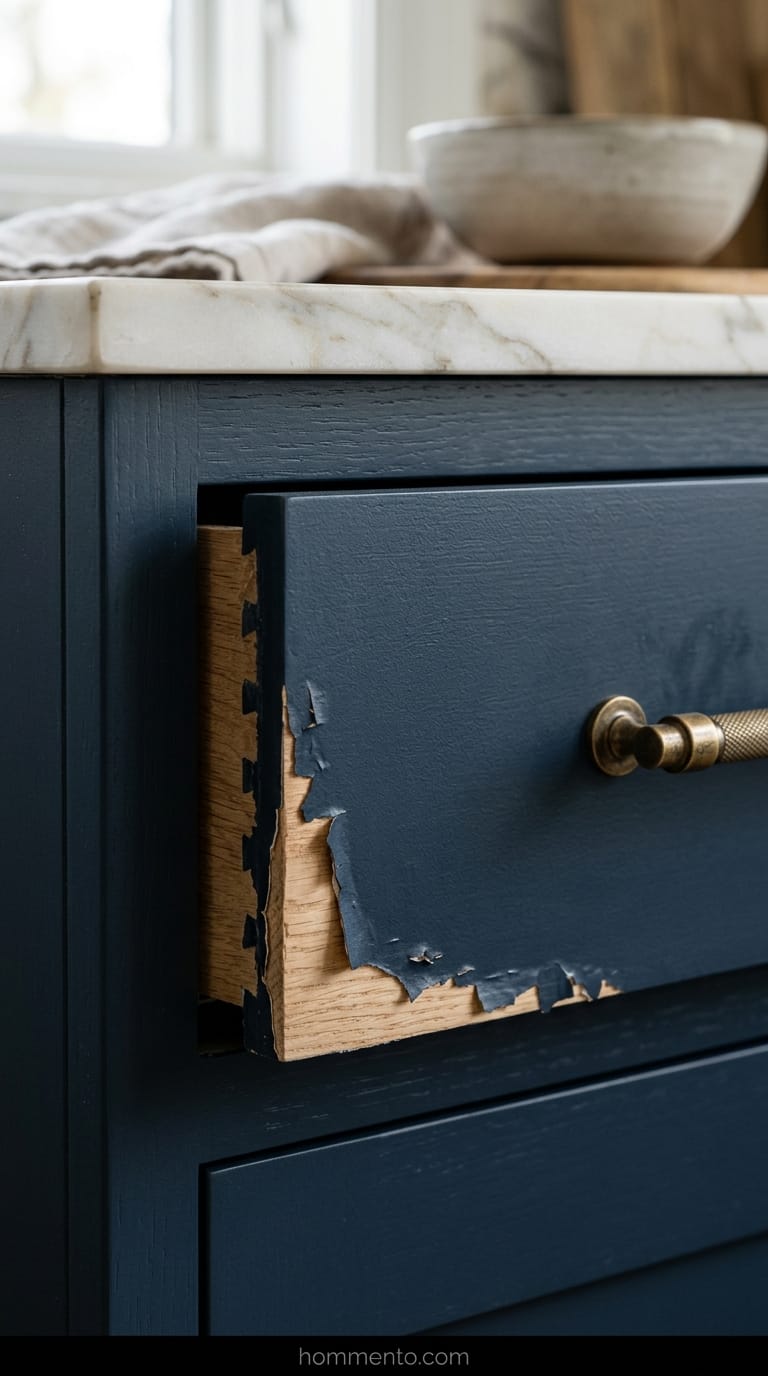
Rushing the “cure” time is the fastest way to ruin your life. Just because the paint feels dry doesn’t mean it’s actually hard. I once closed a drawer too soon and it literally fused to the frame overnight. I had to use a putty knife to pry it open and ruined the whole edge.
Never trust “Paint + Primer” in one can for kitchen cabinets. It’s a lie. Your cabinets are covered in years of invisible bacon grease and steam. If you don’t use a dedicated, shellac-based primer, that pretty sage green is going to start peeling off in sheets within a month.
Also, don’t ignore your hinges. If you don’t clean the old gunk off the metal hardware, your “new” kitchen will still look like a cheap DIY job. Soak them in some warm soapy water while the paint dries.
Pro Tips
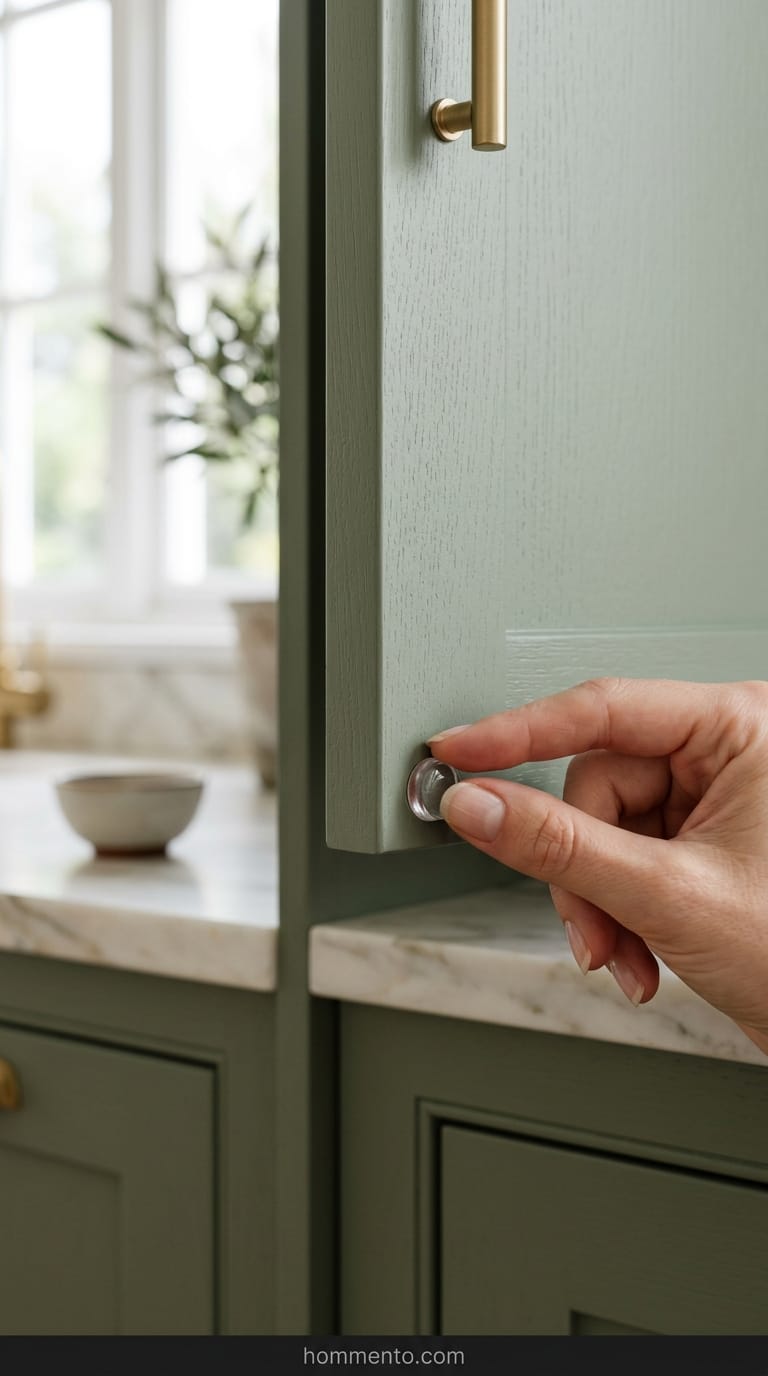
Buy a pack of those cheap clear rubber bumpers. Stick them on the door corners immediately after the paint is fully cured. They keep the doors from sticking to the frames and make your kitchen sound “expensive” when the doors close—no more loud wood-on-wood clanks.
Keep a tiny baby food jar or yogurt container of leftover paint in your junk drawer. You’ll need it for the inevitable dings that happen during the first week of real life. Trust me, you’ll hit a door with a heavy cast-iron skillet eventually.
Toothpicks are your best friend. Use them to poke out any paint that dried inside the screw holes before you try to force a drill in there. It saves you from stripping the screw heads and losing your mind.
Conclusion
Your back is going to hurt and your house will smell like a workshop for a few days. That’s just part of the deal. But when that first morning sun hits those sage green panels? You’ll feel like you just saved five thousand dollars.
Because you did.
Take your time, don’t skip the sanding, and maybe buy a pizza for the friend who helps you hang the doors. You’ve got this.